
In our work and daily life, we often need to remotely access home or private networks, whether it is due to the requirements of remote work, monitoring smart home devices, or enterprises accessing internal resources across regions. Due to cost considerations and restrictions imposed by network operators, these private networks often do not have a public IP assigned. While this practice reduces the risk of network attacks and enhances privacy protection, it also restricts the ability to directly access these internal resources from the Internet, which can be inconvenient.
Of course, there are solutions to this problem, such as internal network penetration and VPNs. However, these solutions either have complex network configurations or are expensive, and they increase the risk of being attacked. The performance of data transmission may also be affected when the service provider’s servers are far from the user.
Here, I will introduce another low-cost, high-security, and high-performance solution: ZTM.
About ZTM
ZTM (Zero Trust Mesh) is an open-source network infrastructure software used to run decentralized networks. It is built on HTTP/2 tunnels and can run on any type of IP network, such as local area networks, containerized networks, and the Internet.
ZTM lays the foundation for building decentralized applications, providing a range of core features, including:
- Network connections across internet gateways and firewalls
- TLS encrypted transmission channels
- Certificate-based authentication and access control
- Service discovery and load balancing
ZTM can be used in various environments, from connecting home and workplace 2-node personal networks to connecting global offices and branches of 10,000-node enterprise networks. Applications that can leverage ZTM include:
- Remotely accessing your home computer from anywhere in the world
- Sharing documents, pictures, and videos with others without relying on large tech social networking platforms
- Private and secure P2P chat or voice/video conferencing without fear of eavesdropping
ZTM supports multiple CPU architectures, such as x86, ARM, MIPS, RISC-V, LoongArch, etc., as well as various operating systems, such as Linux, Windows, macOS, FreeBSD, Android.
To learn more about ZTM, you can visit ZTM Introduction Documentation and Why, what and how ZTM.
Next, I will guide you on how to use ZTM to securely and conveniently access private networks.
Demonstration
First, let me introduce today’s demonstration environment:
- Home/Private Network: This network includes my HomeLab virtual machine and a Windows device, with no fixed public IP.
- Public Cloud Network: A very low-spec cloud host: 1 core CPU, 1G memory, 5m bandwidth, at a very low cost.
- Public Network: Mobile network or public Wi-Fi at cafes/malls, which I often use.
In the following demonstration, I will switch between these three environments to configure ZTM. Don’t worry, this configuration is one-time, not the norm.
Architecture
Below is the architecture diagram of the entire demonstration environment:
- On the left, the home network, with a web service running on HomeLab and a Windows PC, as well as the running ZTM Agent.
- In the middle, the public cloud network: With a fixed public IP, this hosts the ZTM Hub, providing access relay functions; additionally, there is a ZTM CA service, issuing certificates for the Hub and Agent, which are used for data encryption transmission, identity authentication, and access authorization.
- On the right, the public network: My MacBook, used to access services and devices in the home network, also running the ZTM Agent.
The Agents on both sides establish secure reverse tunnels with the public cloud host, so their networks do not need a fixed public IP.

Let’s get started!
Installing ZTM
First, we install ZTM on the virtual machine in the public cloud, deploying the CA service and Hub. Go to the download page to download the installation executable for the Linux platform.
curl -sL https://github.com/flomesh-io/ztm/releases/download/v0.0.2/pipy-ztm-v0.0.2-ubuntu-x64.gz | gzip -cd - > pipy
chmod +x pipy
Starting the CA Service
Start the CA service in a new session, specifying its listening interface on the loopback network card at 9999 with the parameter --listen.
screen -S ca-svc
./pipy repo://ztm/ca --args --listen=127.0.0.1:9999
First, issue a CA certificate through the CA service.
curl http://localhost:9999/api/certificates/ca | tee ~/ca.crt
Starting the Hub
Run the following command in a new session to start the Hub. The Hub defaults to listening on 0.0.0.0:8888, which can be modified like the CA service above with the parameter --listen; also, the Hub defaults to connecting to the localhost:8888 service to manage certificates, which can also be adjusted with the parameter --ca. Note: If the Hub is running in a virtual machine, you need to specify the public IP and port of the virtual machine with the --name parameter!
screen -S ca-svc
./pipy repo://ztm/hub
Let’s start with a simple service access.
Scenario 1: Accessing Services in the Home Network
Home Network Access
On the cloud host, generate certificates for home devices through the CA service.
# home key
curl -s http://localhost:9999/api/certificates/home -X POST | tee home.key
# home cert
curl -s http://localhost:9999/api/certificates/home | tee home.crt
Start the Agent on the device in the home network, here it’s an Ubuntu virtual machine. First, install ZTM.
curl -sL https://github.com/flomesh-io/ztm/releases/download/v0.0.2/pipy-ztm-v0.0.2-ubuntu-x64.gz | gzip -cd - > pipy
chmod +x pipy
The Agent defaults to listening on 127.0.0.1:7777, which can be modified with the parameter --listen.
screen -S agent
./pipy repo://ztm/agent
After starting, you can open the graphical interface in the browser (at this point, my computer is connected to the home network for configuration).
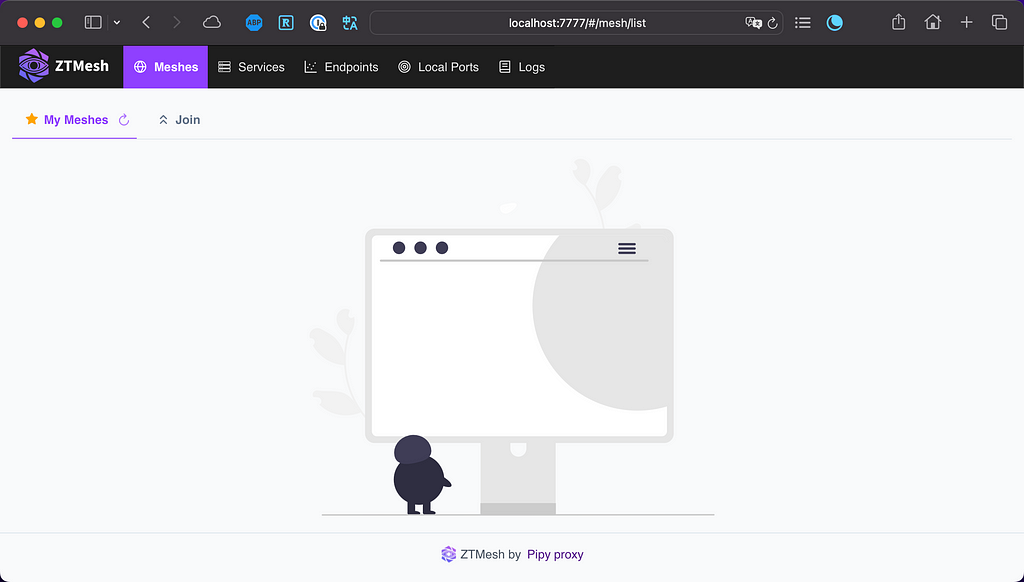
In the Mesh window, click Join to configure the Mesh network. Here, you need to provide the name of the Mesh network addo, the name of the Agent home, the CA certificate, the certificate and key generated for the Agent, and most importantly, the address of the Hub 43.155.26.189:8888. Note: In the current version, you need to press Enter after entering the address to confirm!

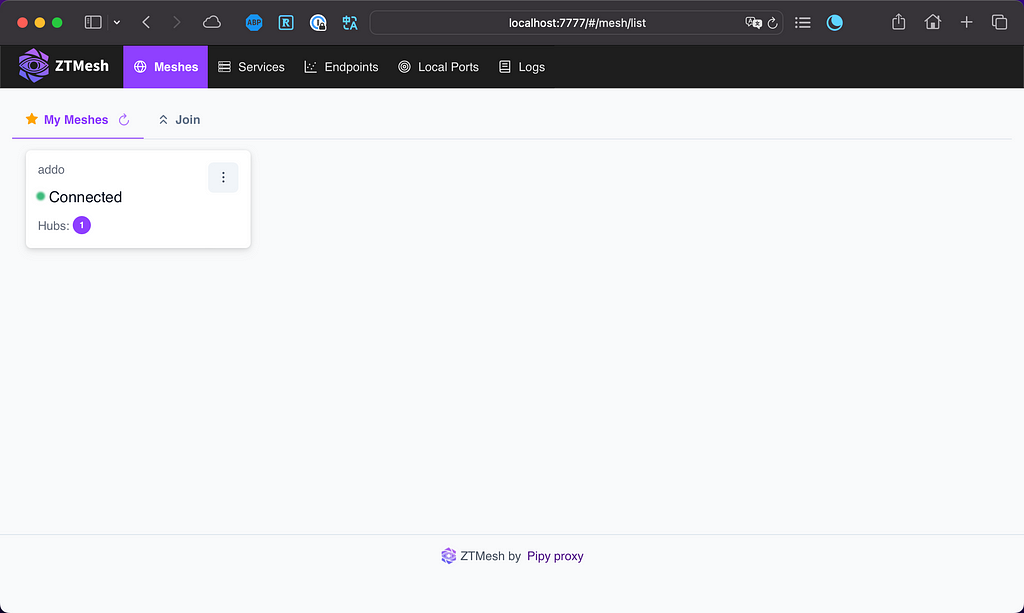
After saving, you can see the Mesh we’ve joined in the Mesh window. The status Connected indicates a successful connection to the Hub and successful network access.
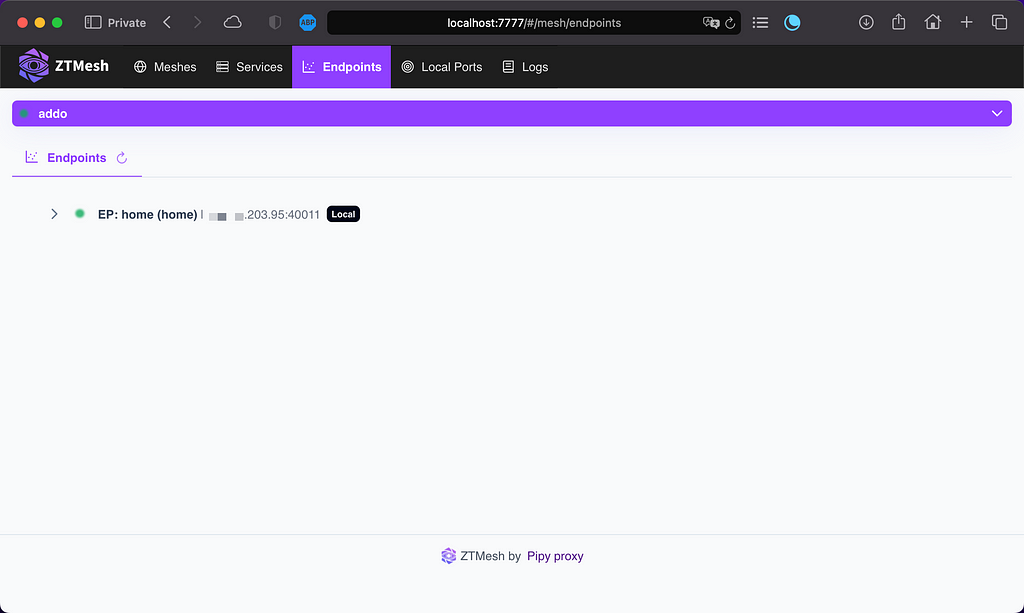
Also, in the Endpoints window, you can see the current endpoint information.
Next, we’ll register the home network’s services in the Mesh. Here, we’ve simulated a simple web service with Pipy pipy 'pipy.listen(8080, $=>$.serveHTTP(new Message("hi")))'.
When registering the service, you need to provide the name of the service, as well as the access address and port: Hi, 198.19.249.153 (home network subnet), and 8080.
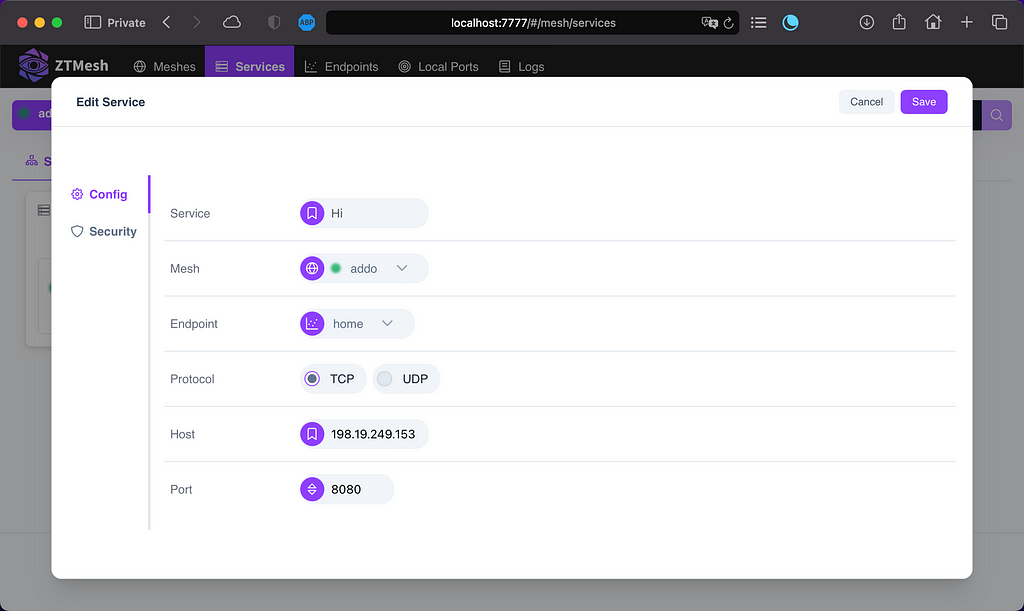
After saving successfully, you can find the service from the Service page.
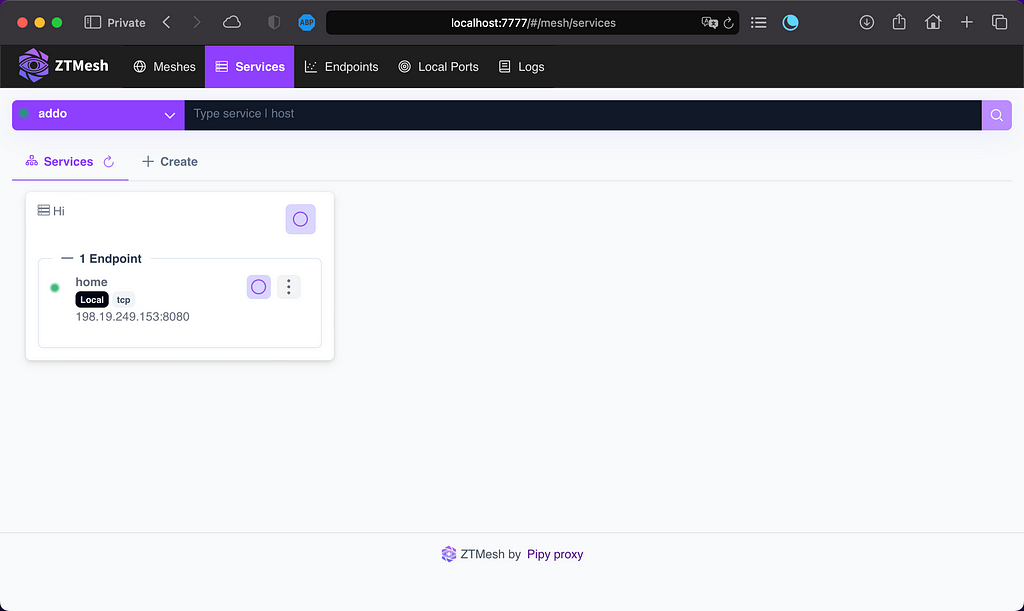
At this point, we have completed the access of the home network to the Mesh and the registration of services.
Next, we will try to access the services in the home network from the external network.
External Network Access
Now, connect my computer
to the external network (testing using a mobile hotspot).
On the cloud host, generate certificates for home devices through the CA service.
# macbook key
curl -s http://localhost:9999/api/certificates/macbook -X POST | tee macbook.key
# macbook cert
curl -s http://localhost:9999/api/certificates/macbook | tee macbook.crt
Go to the download page to download and install the executable for the macOS platform.
curl -sL https://github.com/flomesh-io/ztm/releases/download/v0.0.2/pipy-ztm-v0.0.2-macos-x64.zip -o pipy-ztm.zip
unzip -p pipy-ztm.zip  > pipy
chmod +x pipy
Start the Agent and specify its listening on 127.0.0.1:5555.
./pipy repo://ztm/agent --args --listen=127.0.0.1:5555
Likewise, you need to connect the external network to the Mesh network, similar to the home network’s access.

The status Connected indicates successful network access.

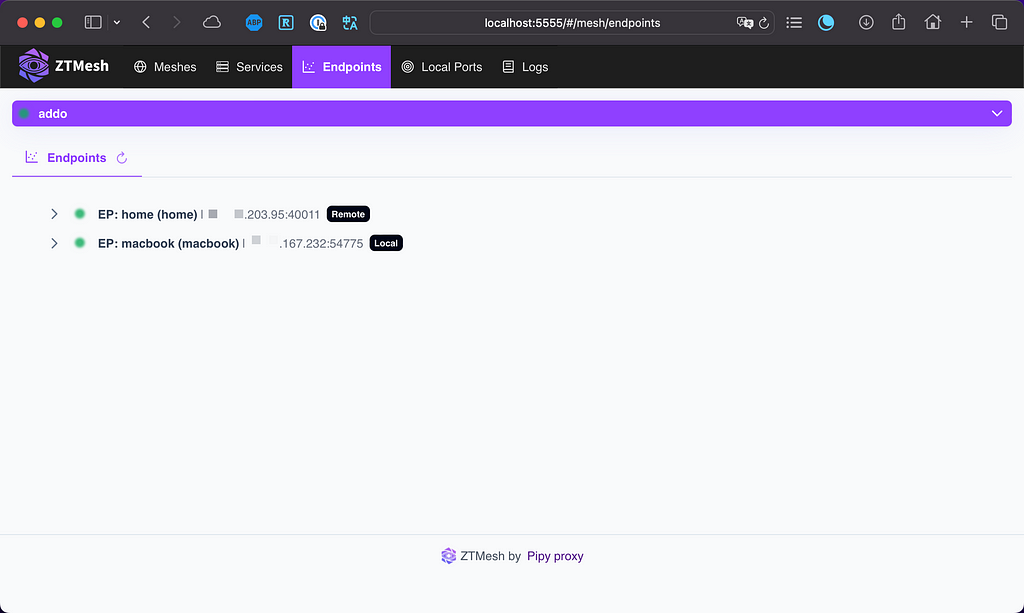
In the Endpoints window, you can see the current endpoint, as well as the endpoint accessed by the home network. They are distinguished by the labels Local and Remote.
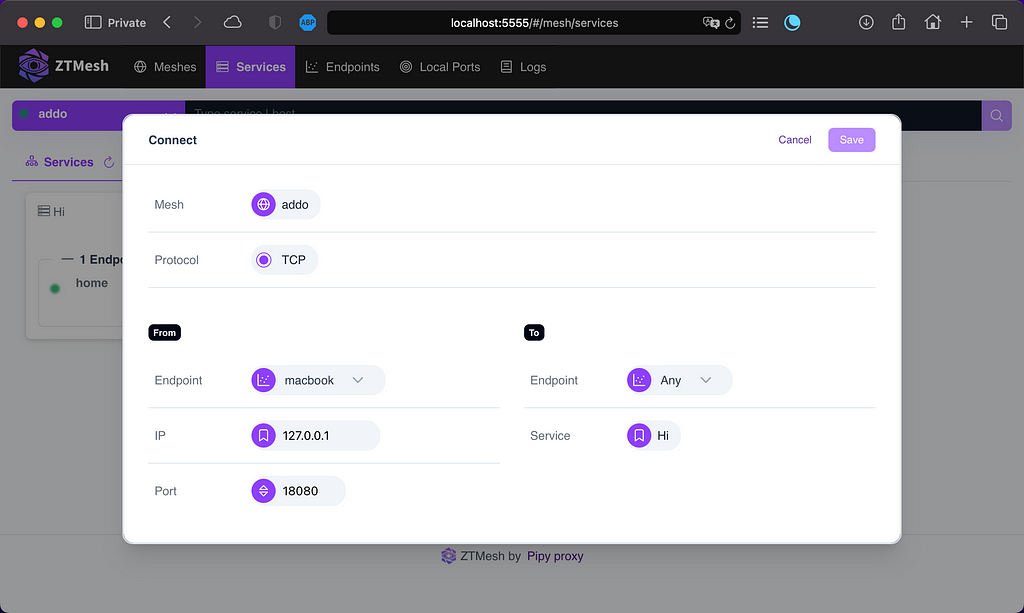
In the Service window, you can see the registered service Hi.

Clicking the button on the service card takes you to the service connection interface. Here, you can map the service registered by the remote endpoint to local. For example, here we map the service Hi to local 127.0.0.1:18080.
The Ports page can see the successfully mapped port (status is green).
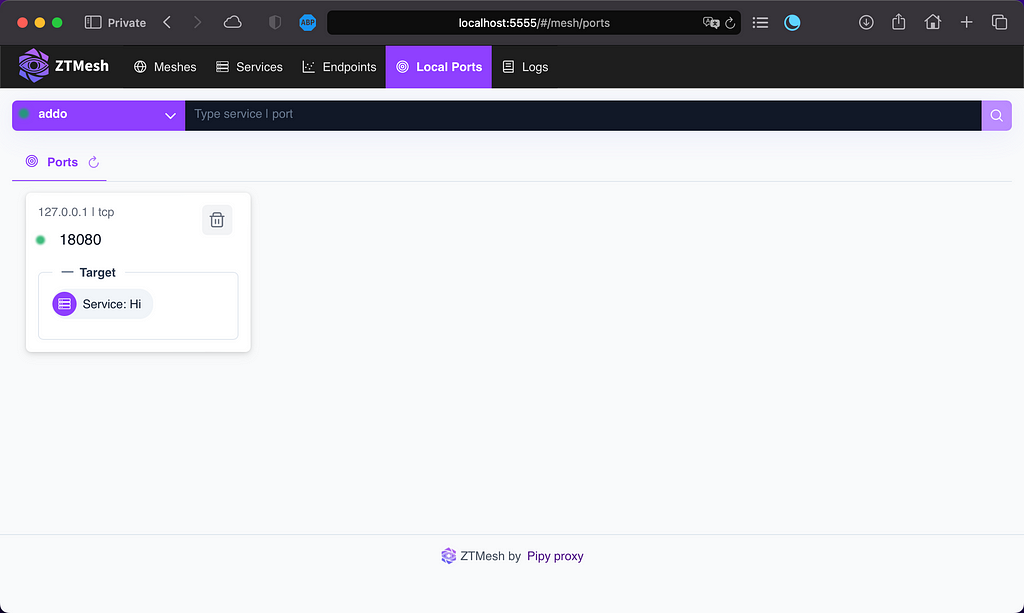
After completing the service mapping, you can test it.
Test
Access 127.0.0.1:18080 on the current device to see a successful return.
curl -i 127.0.0.1:18080
HTTP/1.1 200 OK
content-length: 2
connection: keep-alive
hi
Next, we will attempt to remotely access a Windows device within the home network.
Scenario 2: Accessing Remote Windows Desktop
In the home network, there is a Windows device with the IP address 192.168.11.184 and remote desktop login enabled.
Register Windows Remote Login Service
Let’s switch back to the home network. On the home network’s Agent, register another service RDP and fill in the Windows device's IP and port (default 3389).
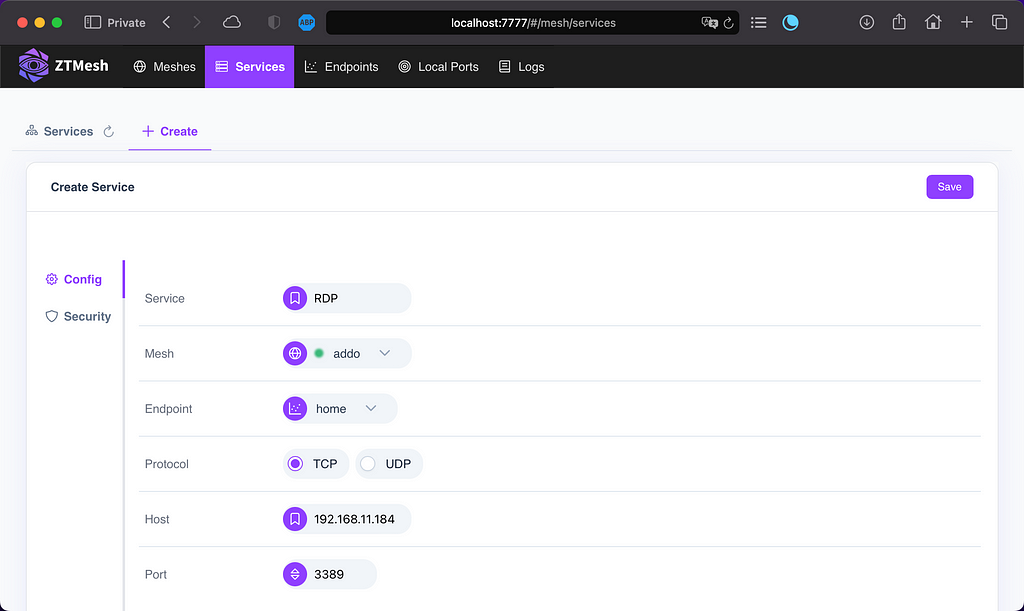
After saving, you can see the newly registered service in the Service window.

macOS
Let’s switch back to the external network, where you can also see the RDP service registered by the home network in the service window.
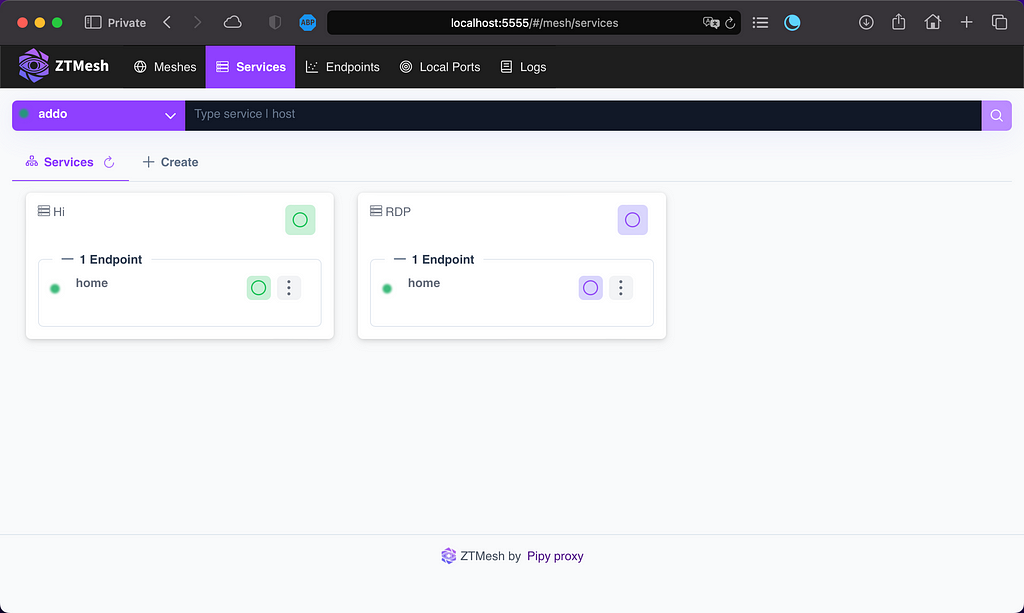
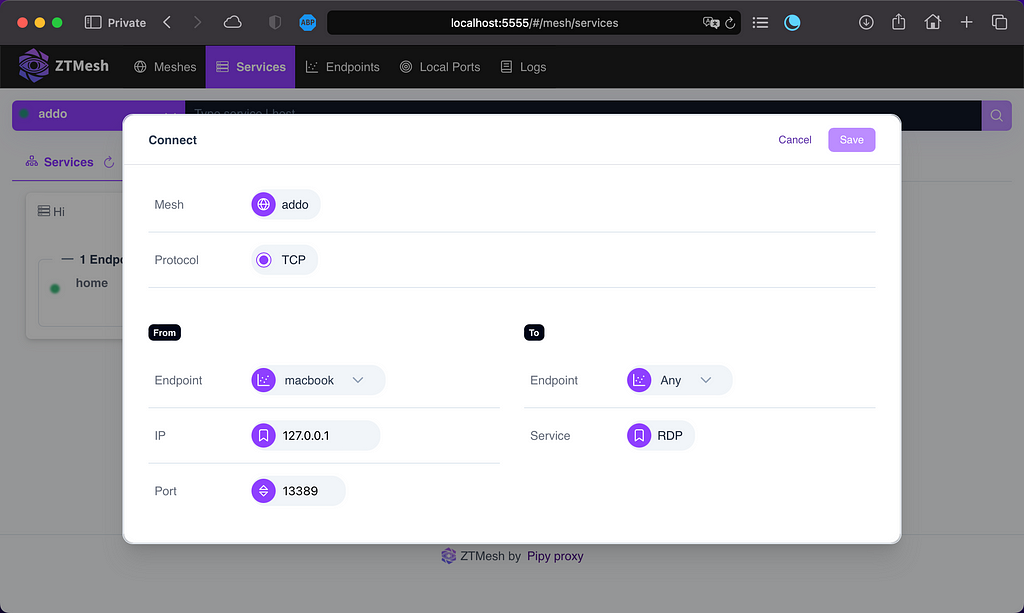
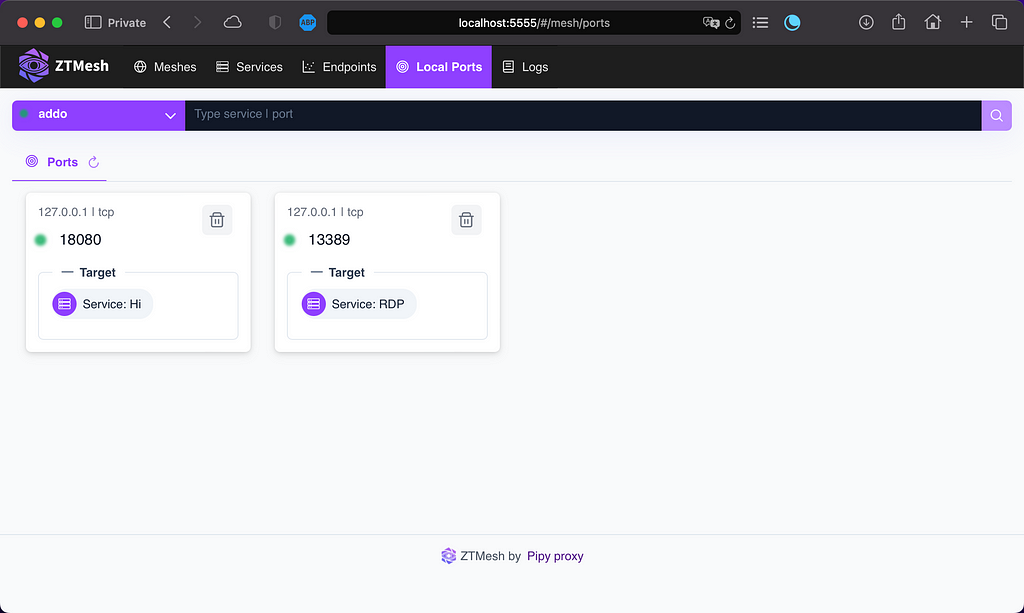
The same operation, map the RDP service to local 127.0.0.1:13389.
Mapping completed.
Test
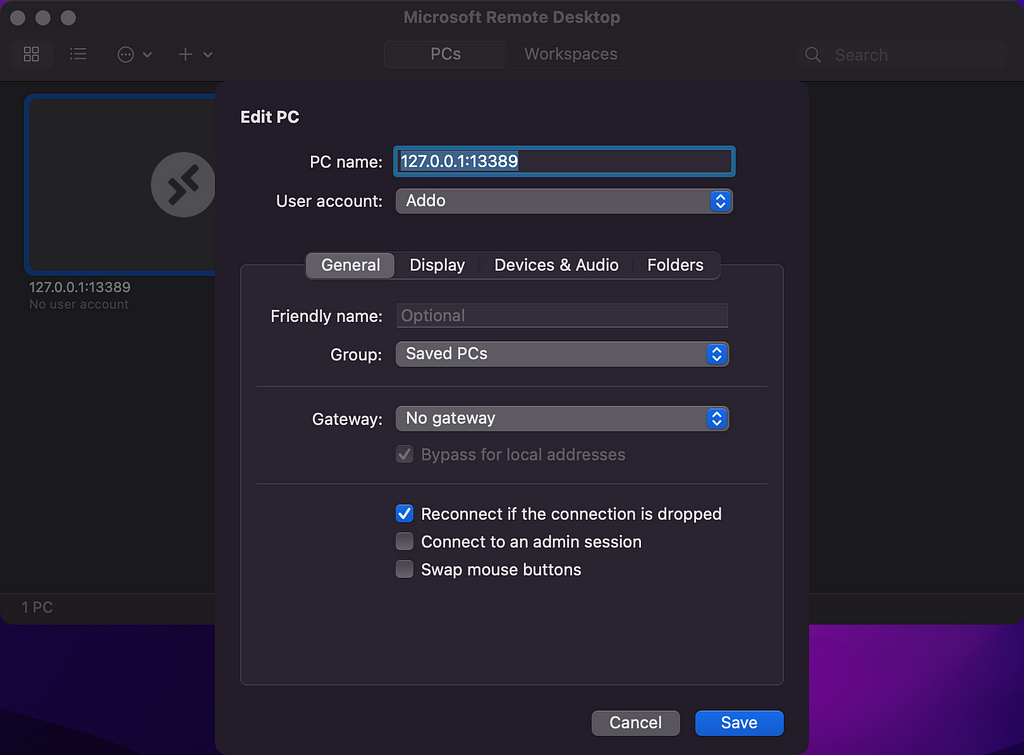
This time, we use the Microsoft Remote Desktop software on the macOS platform to access the remote desktop.
Add a PC with the address 127.0.0.1:13389, and the account is the login account of the Windows device.
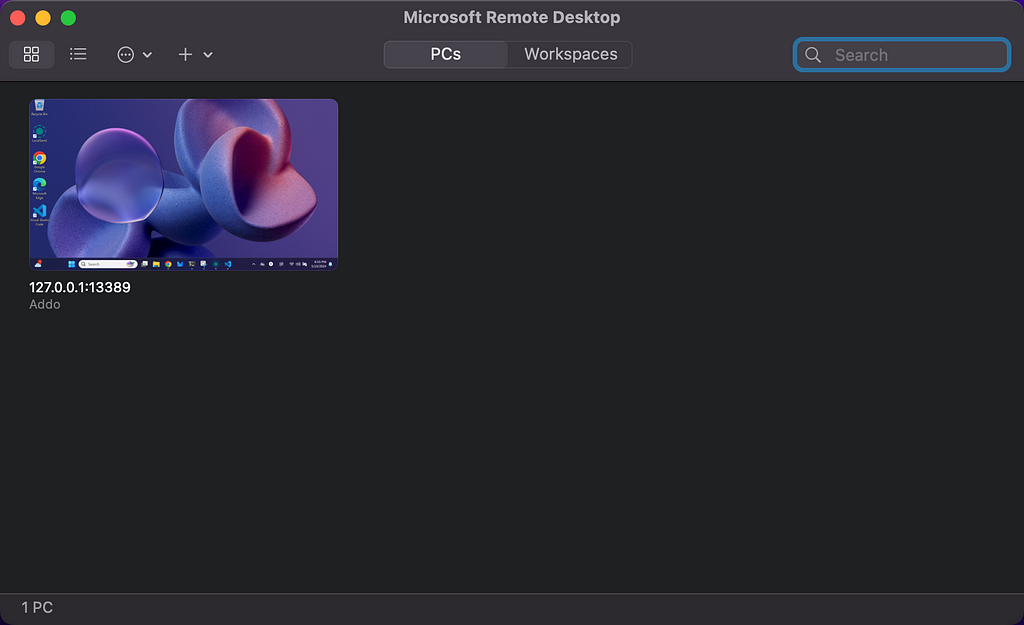
After logging in, you can remotely operate the Windows device.

Summary
In this article, we briefly introduced the features and characteristics of ZTM, and step by step demonstrated how to use ZTM to access a home network without a fixed public IP.
ZTM’s decentralized network, built on HTTP/2 tunnels, fully embodies the characteristics represented by Z: Zero privilege, zero firewall settings, zero routing, zero system settings, zero exposure. Smaller exposure surface, more secure, lower cost, more convenient management.
In the future, we will introduce the working principles of ZTM and more usage scenarios through more articles, so stay tuned. You are also welcome to share your user experience with us through GitHub Issue and provide your valuable suggestions.
<hr /><p>How to Use ZTM to Access Home/Private Networks was originally published in Flomesh on Medium, where people are continuing the conversation by highlighting and responding to this story.</p>